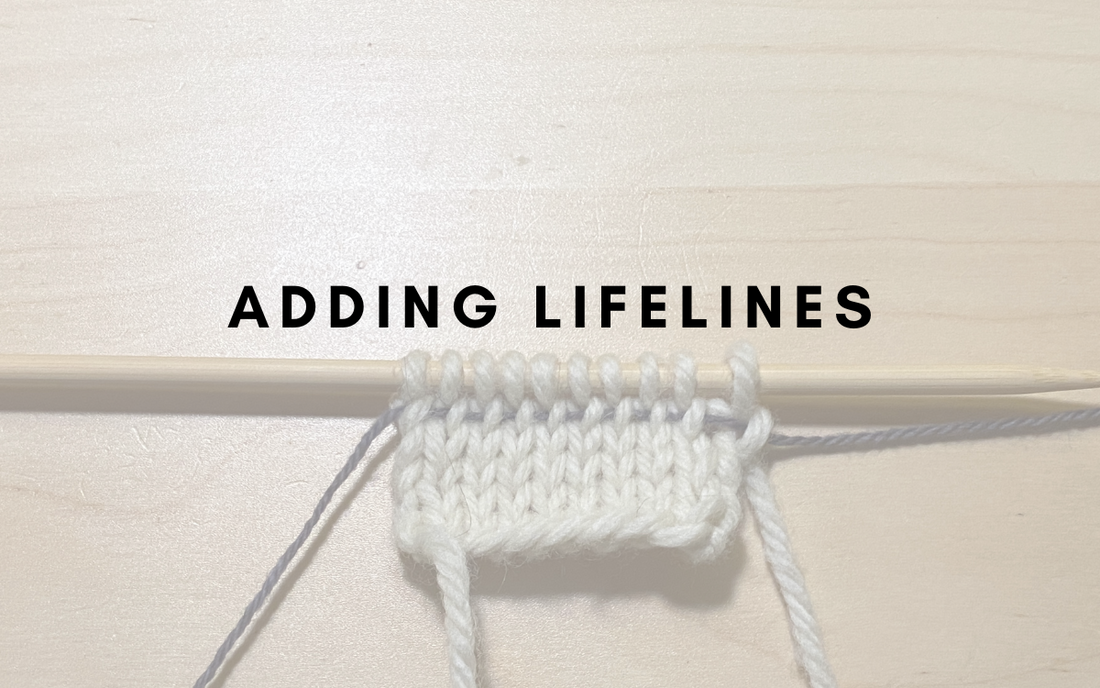
Knowing how to add a lifeline in your knitting is a crucial skill. Lifelines can save you from having to rip out too many rows or even start over your project. Lifelines can also help mark places to keep track of in your project, such as where to seam or place a pocket.
What are lifelines used for?
- saving your place in your project, especially before a difficult section or if you think you might have to rip back, such as in a complicated cable pattern or for a garment you're not quite sure will fit.
- to mark repeats of a pattern, such as in lacework or highly textured knits.
- to mark a row that you will need to come back to, such as when sewing down a bind off to create a channel (as in the On the Farm Cowl).
Before we get started with the photo tutorial, here are my top tips about adding lifelines in knitting:
- use a strongly contrasting color; if your project is white, use a dark yarn, and vice versa.
- use a strong smooth yarn, such as cotton or superwash merino, rather than a sticky, rustic wool. This will make it easier to remove when you no longer need it.
- use a thinner yarn than the one used in your project. This makes it easier to add the lifeline as well as remove it at the end.
- use as small a tapestry needle as you can, so you can easily thread it through the stitches.
Here are my 2 favorite ways to add a lifeline to your knitting project:
1) Adding a lifeline to live stitches
This technique works well for projects involving lace work, cables, or textured stitches. It's also great for unconventional yarns, such as mohair, boucle, or other hard-to-see yarns. It involves threading the lifeline yarn through the live stitches on your needle, without removing the stitches on your needle. This technique works best on circular needles, because you can slide the stitches onto the cable of the needle to create more space for your tapestry needle to fit.
Step 1: Thread your lifeline through your tapestry needle.
Step 2: Slide your live stitches to the cable of your circular needle.
Step 3: Thread the tapestry needle through each live stitch on your needle, being careful not the split stitches or catch the stitch below. Repeat across all stitches.
Step 4: Cut yarn and tie off. Your lifeline is now complete! You can continue knitting, and if you need to rip back, your stitches will be held on the lifeline. If you don't need it, you can just slide the lifeline out again.

2) Adding a lifeline to the previous row
This technique is great for simple stockinette projects where you can easily see the stitches and rows. It involves threading the lifeline through the stitches just below the live stitches on the needle.
Step 1: Thread your lifeline through you tapestry needle.
Step 2: Insert the tapestry needle through the right leg of the stitches directly below the stitches on your needle. Repeat across all stitches.
Step 3: Cut yarn and tie off. Your lifeline is now complete! You can continue knitting, and if you need to rip back, your stitches will be held on the lifeline. If you don't need it, you can just slide the lifeline out again.


