
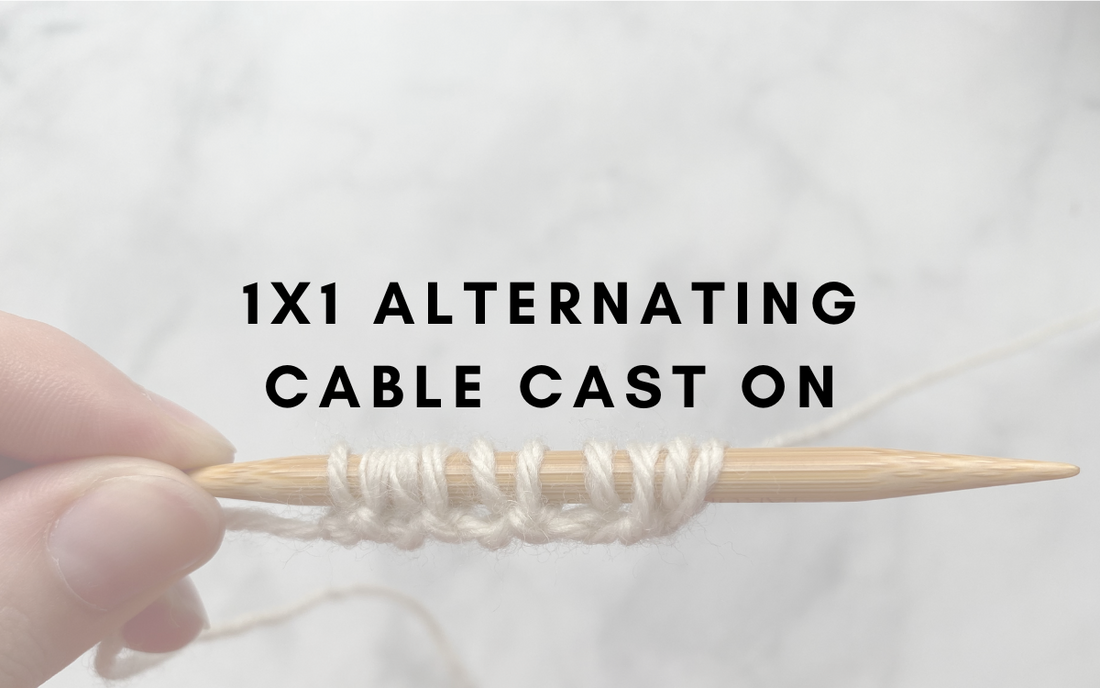
This tutorial demonstrates the alternating cable cast on for 1x1 ribbing, which creates a stretchy, neat edge perfect for sweaters, hat, and more. See below for video tutorial and written instructions.
Written Instructions:
- Make a slip knot. Place on left needle. This will be your first purl CO stitch.
- Insert right needle into stitch as if to knit. Wrap as you would for a knit stitch, and pull right needle back through stitch. Do not slide stitch off of left needle. Instead, insert the left needle into the new stitch from front to back and leave new stitch on left needle. This is your first knit CO stitch.
- To make a purl CO stitch, insert the right needle between the two stitches from back to front. Wrap as you would for a purl stitch, pull the right needle back through the stitch, insert the left needle into the new stitch and leave new stitch on left needle.
- To make a knit CO stitch, insert the right needle between the two stitches from front to back. Wrap as you would for a knit stitch, pull the right needle back through the stitch, insert the left needle into the new stitch and leave new stitch on left needle.
Repeat steps 3 and 4 until you have the number of stitches indicated in your pattern.
Notes:
- If you are knitting 1x1 ribbing in the round with an even number of stitches, you will end with a knit stitch. When you turn and join to work in the round, you will see that your initial purl stitch is now a knit stitch, so to create the neat ribbing effect, start with a knit stitch.
- If you are knitting 1x1 ribbing flat, you will want to start your first row with the opposite of the last stitch you worked. So if you cast on an even number of stitches and ended with a knit stitch, you want to purl your first stitch on row 1. If you cast on an odd number of stitches and ended with a purl stitch, you want to knit your first stitch on row 1.